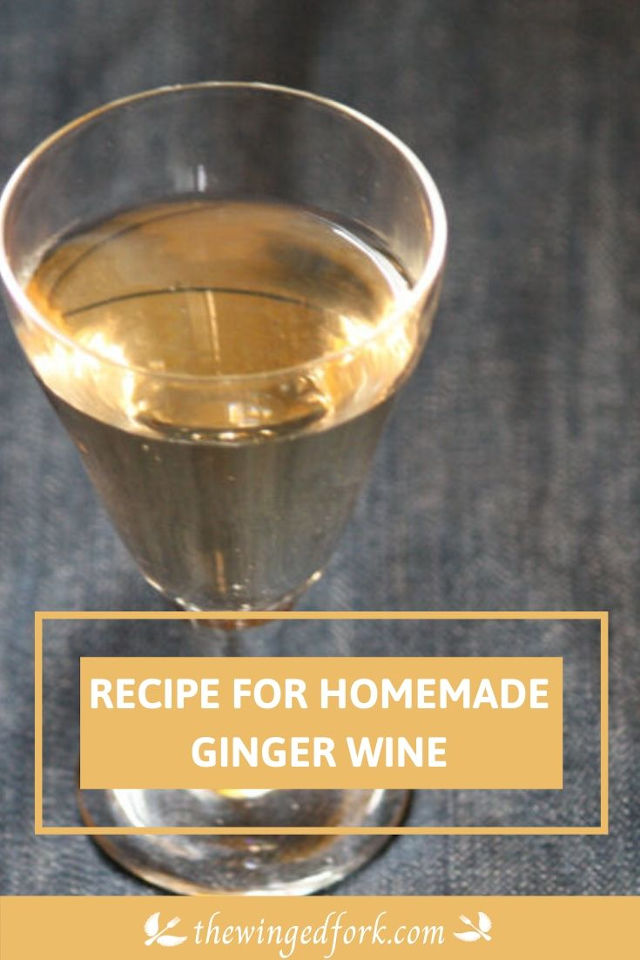
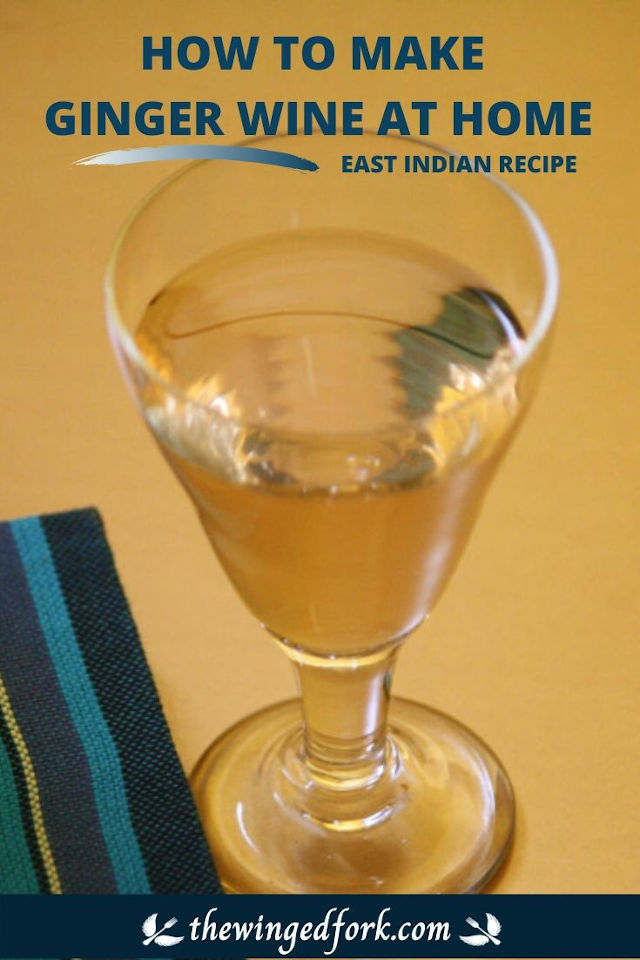
Homemade ginger wine is a light and refreshing drink for celebrations or regular days in. Using ginger root we make this spicy wine in 2 weeks and add a few optional ingredients for different flavors.
In my culture, making wine at home is a skill handed down from generation to generation. Using old ceramic jars that we call barnis, the ginger wine is made through a simple but regular process of stirring and straining over a two week period. The wine can be made in a shorter time frame, say 3 to 5 days. But to get the extra kick, we let it ferment longer.
Also, we don’t use citric acid, or campden tablets, or acid blends, or hydrometers or any other modern equipment. The wine tastes a lot better when it’s made the way our ancestors did, maybe even the way people in Jesus time did. Natural homemade ginger wine! Or not, maybe he just has natural grape or raisin wine. 😉
This ginger wine is a version of the traditional wine that I’ve modified quite a bit to lessen the sugar while maintaining the strength.
What do you need to make ginger wine at home?
Ginger root of course! And some sultanas or raisins, yeast, lemon juice, sugar and water. We also add optional flavors at different times – lemon skins, orange zest, or dried chillies.
EQUIPMENT YOU MIGHT NEED TO USE
- Barni (Traditional Ceramic Jar) or Demijohn or Fermentation bucket
- Wooden Spoon or Stainless Steel Spoon
- Sieve (strainer) or Muslin Cloth
- Pestle and Mortar
- Stainless steel pot
Steps to Make Homemade Ginger Wine
Please make sure it is legal to make homemade wine in your city or state before you try out this recipe.
Start by sterilizing your equipment – ceramic jars, demijohns, wooden spoons, etc – by washing them with boiling hot water.
Next, wash and clean the ginger. Then bruise it well with a pestle and add it to the demijohn or ceramic jar along with the lemon juice.
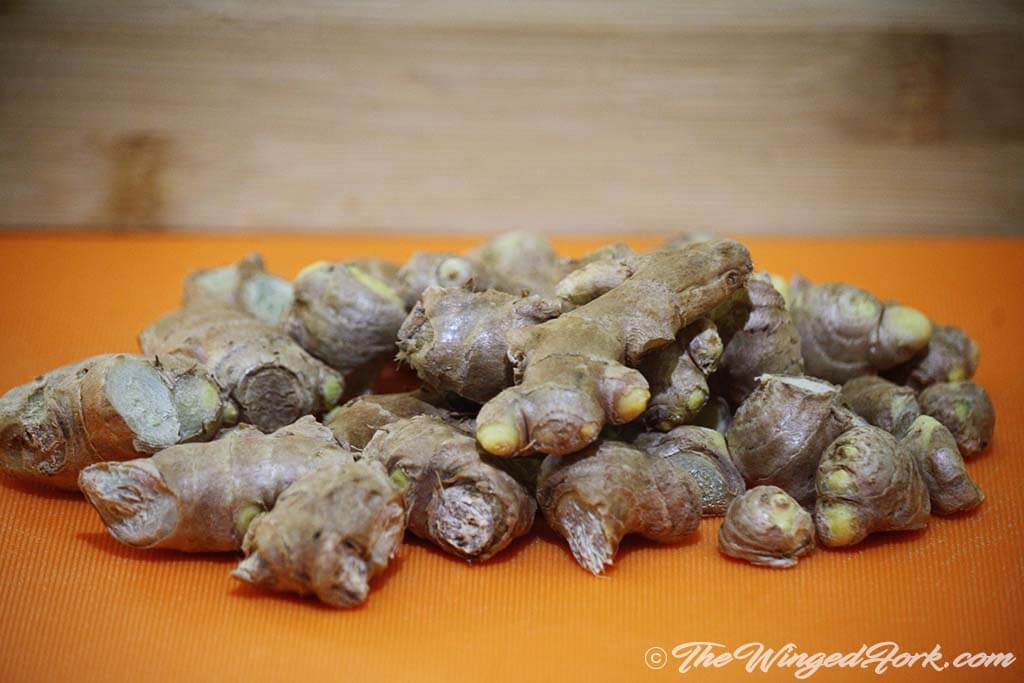
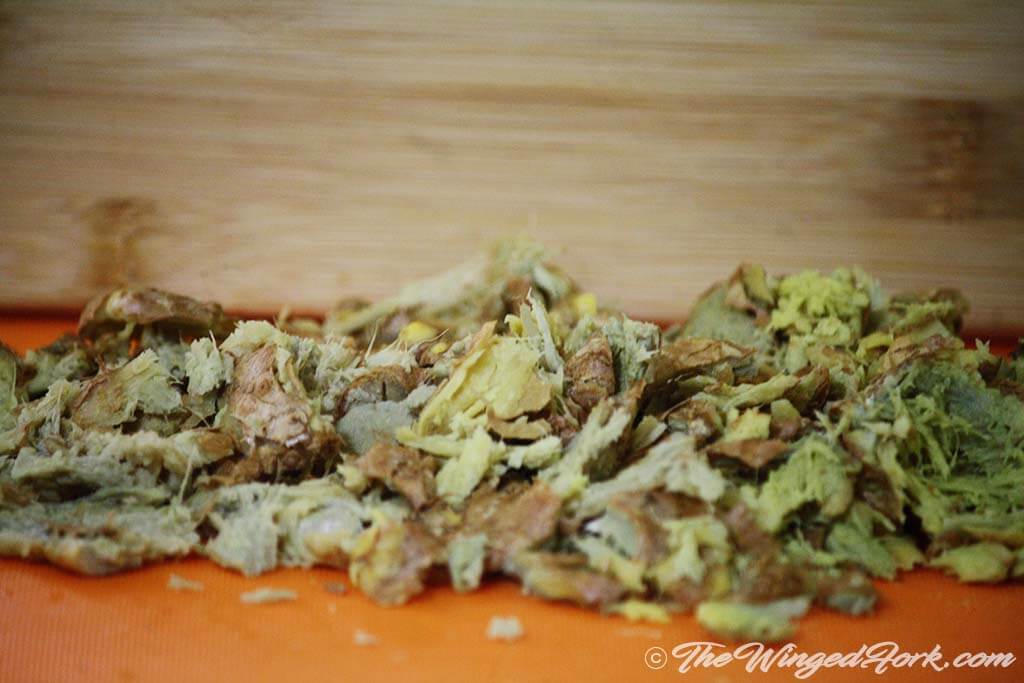
Cover the ginger with your sugar and raisins / sultanas. It doesn’t make a difference if you use raisins or sultanas. Both are good yeast nutrients and help you make a stronger wine. The only difference will be in the color of the wine you make. You’ll find a pic later in the post where we’ve made wine using only sultanas. It’s a darkish brown. But if you use raisins you’ll end up with a bottle of clear sparkling ginger wine. You can also skip the raisins or sultanas altogether, but then you’d have a wine that’s only about 3% to 5% strong.
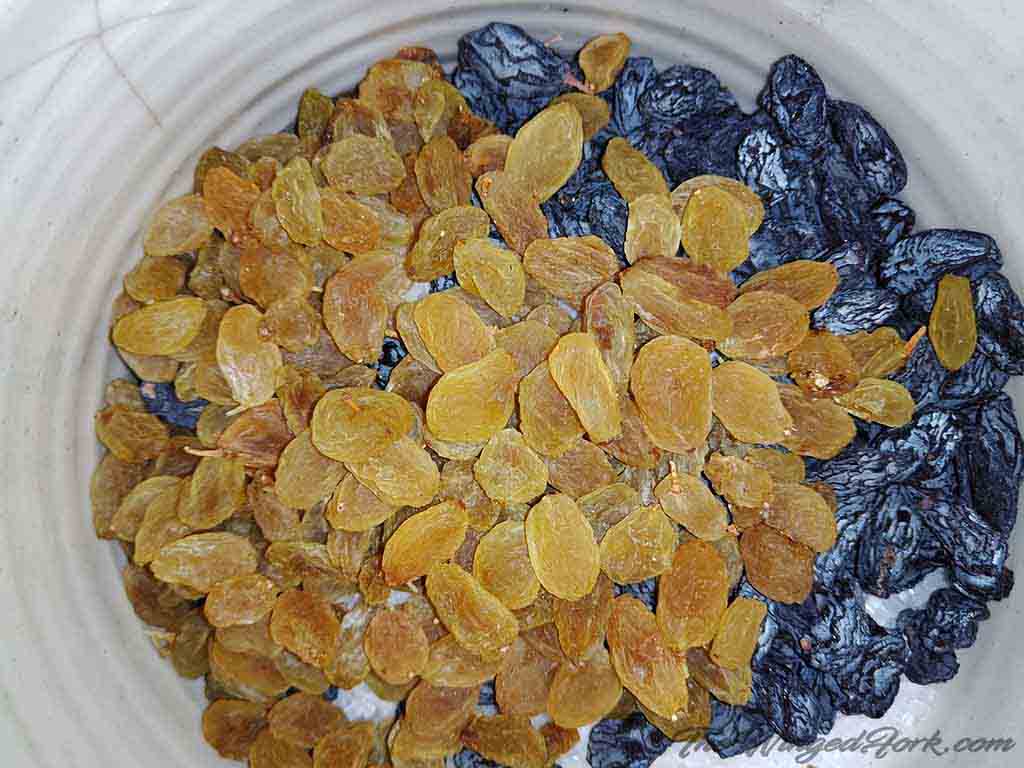
Next, set aside about 100 ml of water to proof the yeast. Top up the ceramic jar with the rest of the water to make 4.4 litres. Proof the yeast with the 100 ml of lukewarm water add it to the barni (ceramic jar).
Alternatively, if you’re sure the yeast is active, you can just top up the jar to 4.5 litres of water and throw in the yeast. There’s no need to proof it. I’ve found that SAF Levure and DCL yeast are those type of yeast, so I use these quite often.
Use a wooden spoon, stainless steel spoon, or food grade plastic spoon to stir the must every day for the first week.
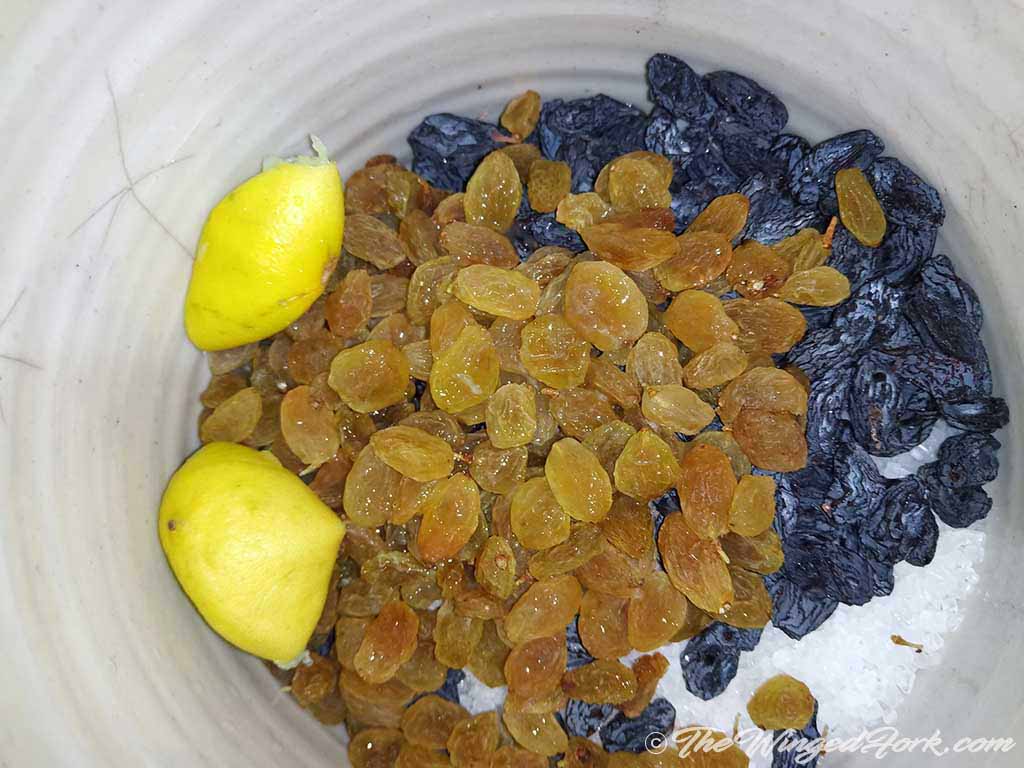
In this version, we used lemon skins for a light fruity flavor. At other times, we’ve used orange skins or dried kashmiri chillies. You can see that on the second day the must was fizzing wildly. I had taken a video to share, but all I could hear in it was the family talking about mustard chicken in the background. So no sharing this time. I’ll try to make another video the next time we make a batch of wine.
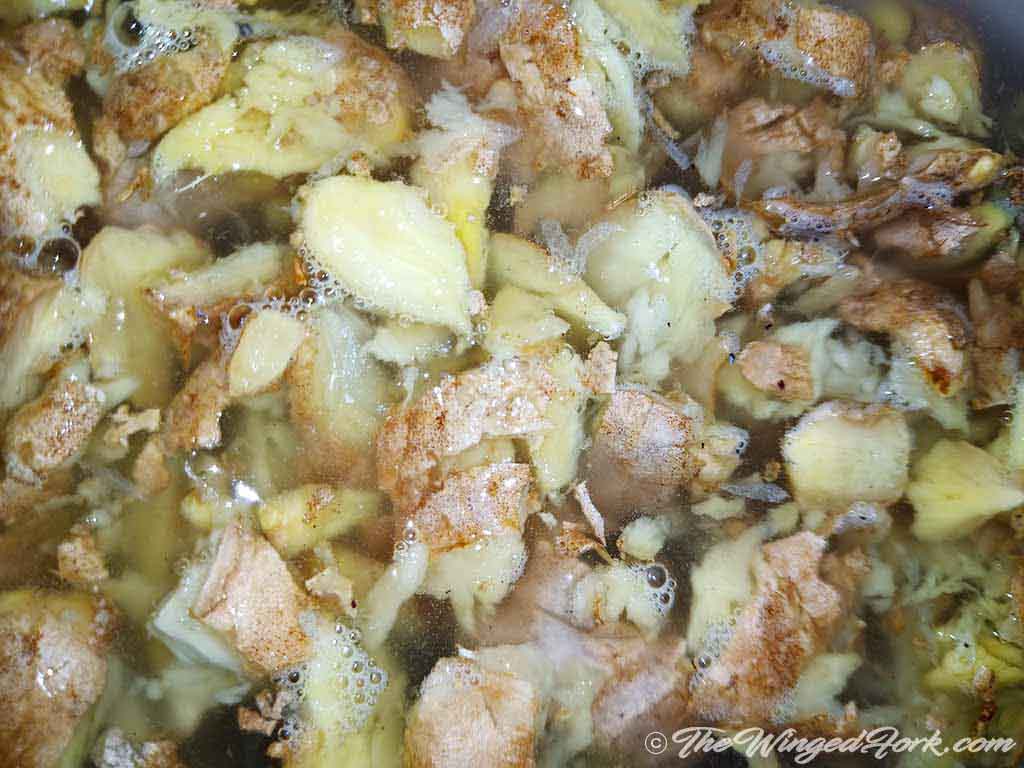
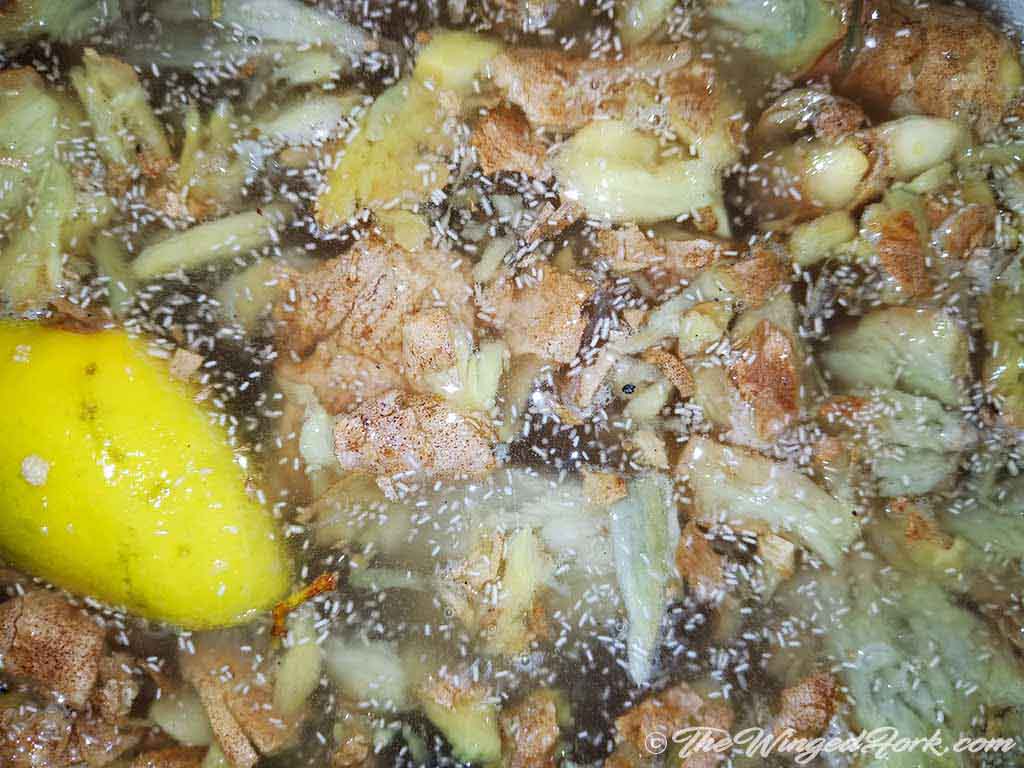
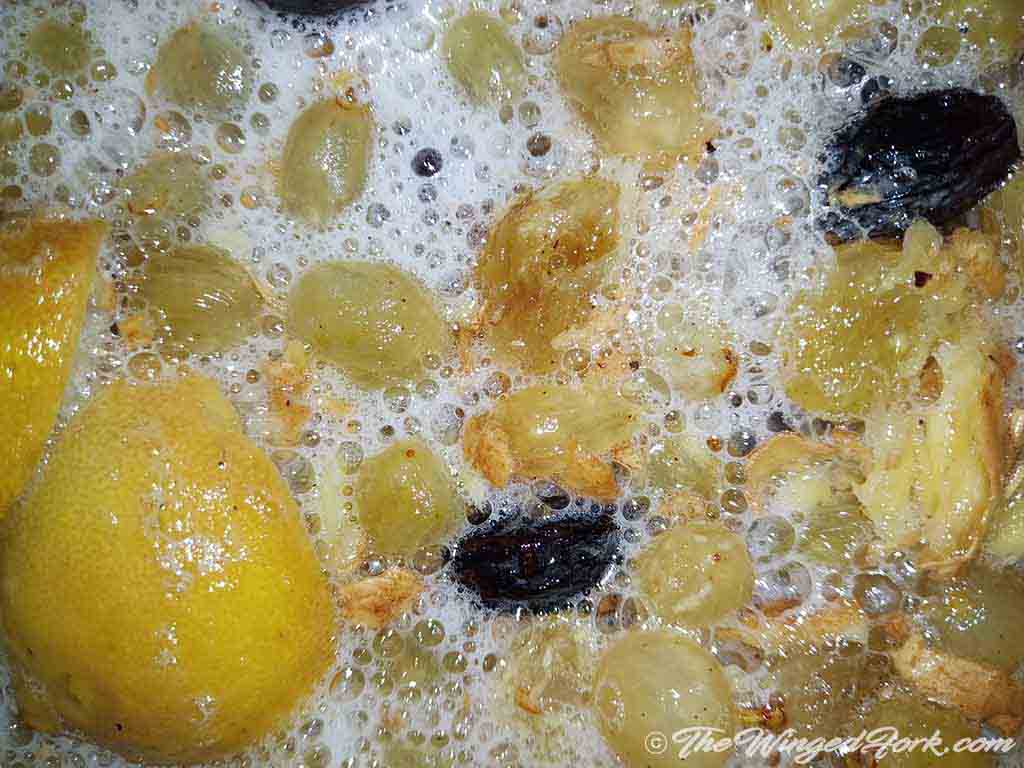
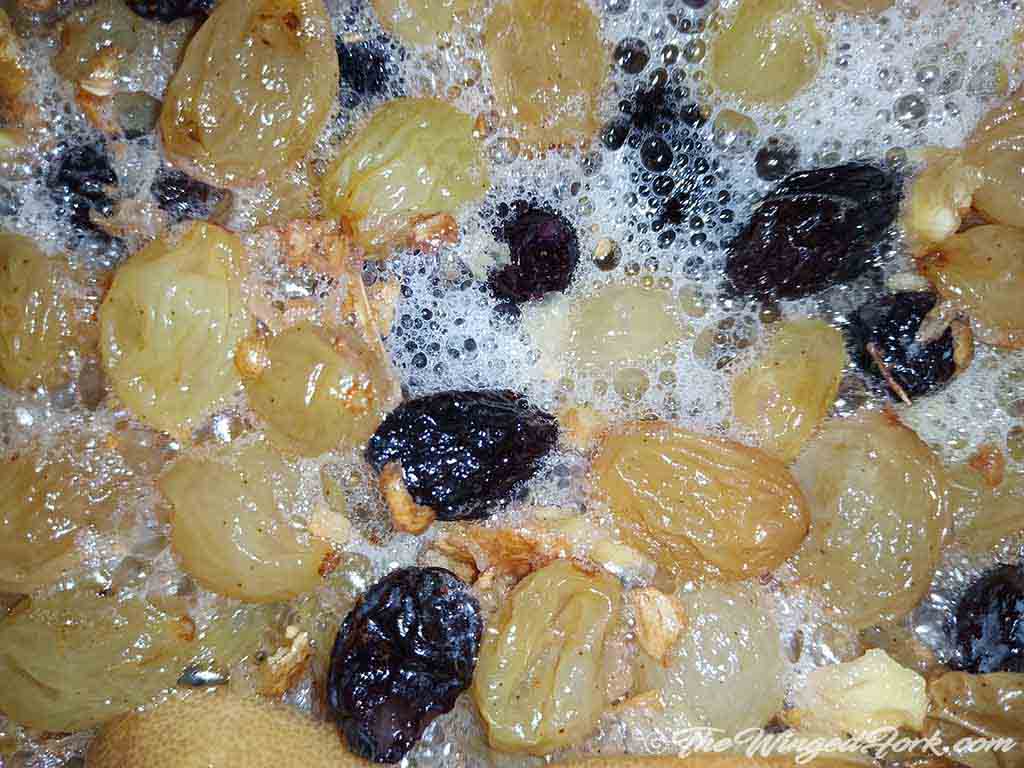
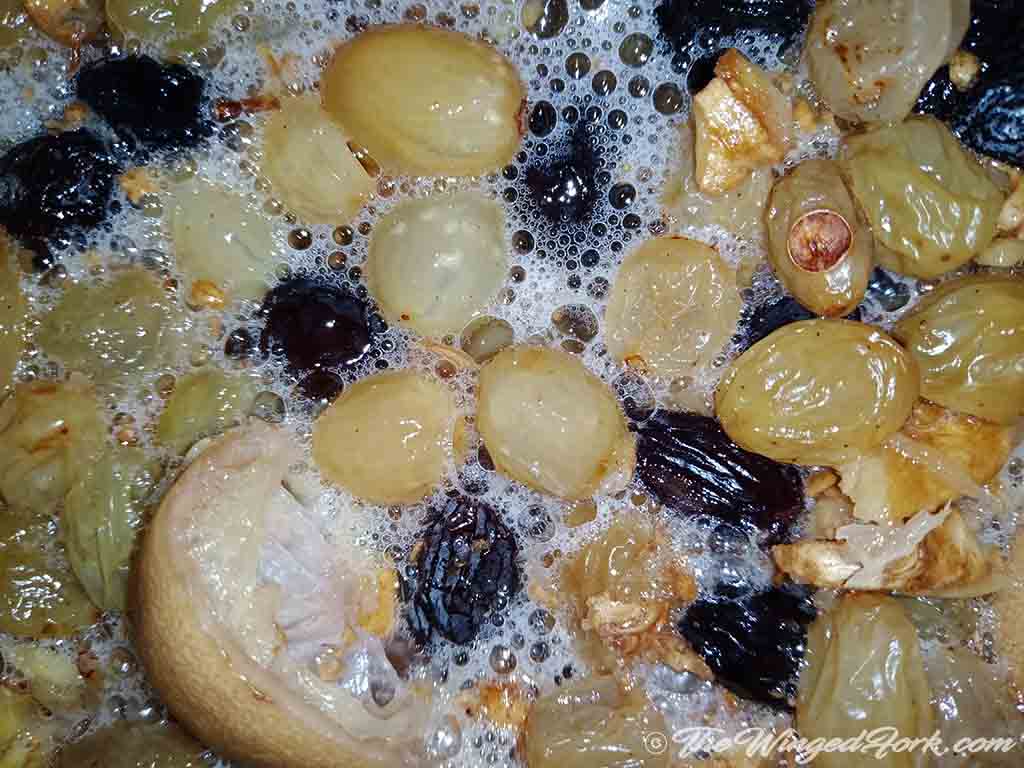
After stirring the wine for 7 days, leave it alone for 7 more days. Then strain the wine through a muslin cloth and bottle the wine. Wait for a few weeks before you drink the wine. If you can’t wait, the wine is perfectly good to drink immediately too! Go ahead and have a taste!
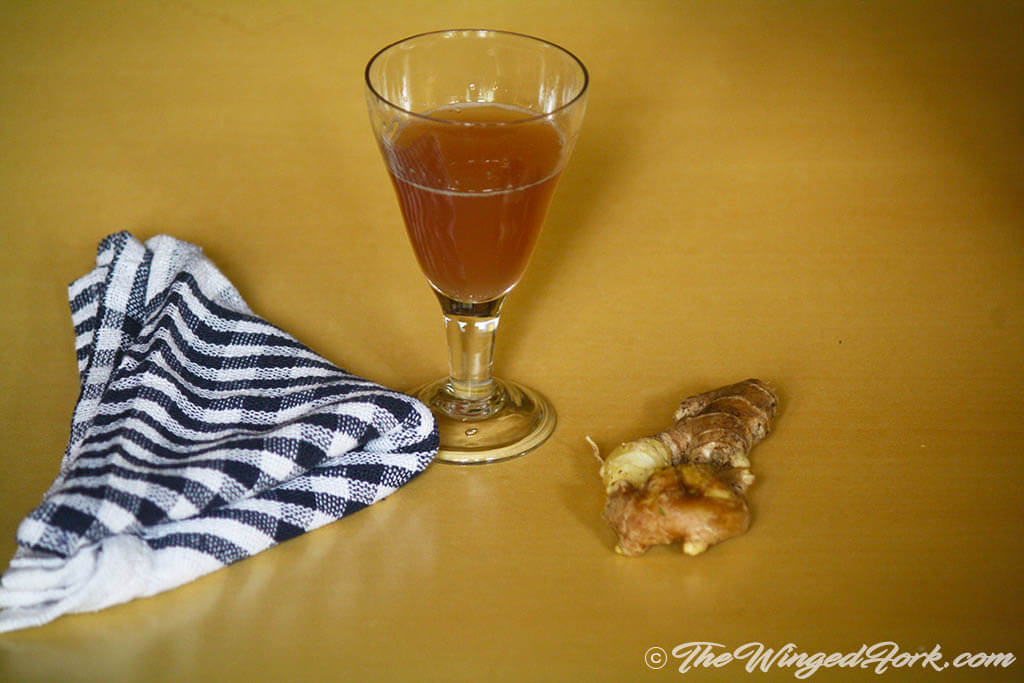
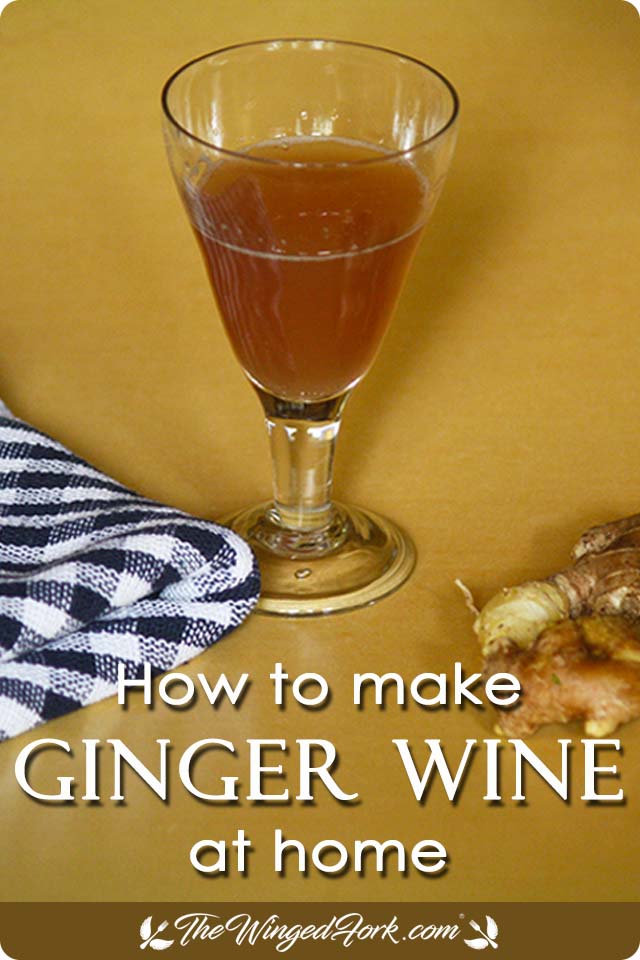
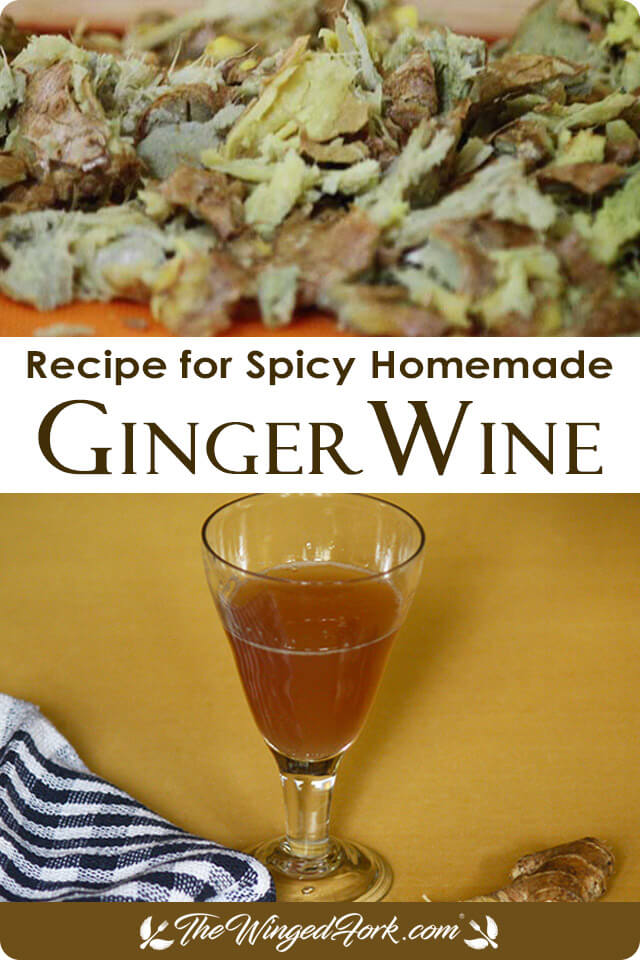
This pic above is of the ginger wine we made using only sultanas. You can see the earthy brown color.
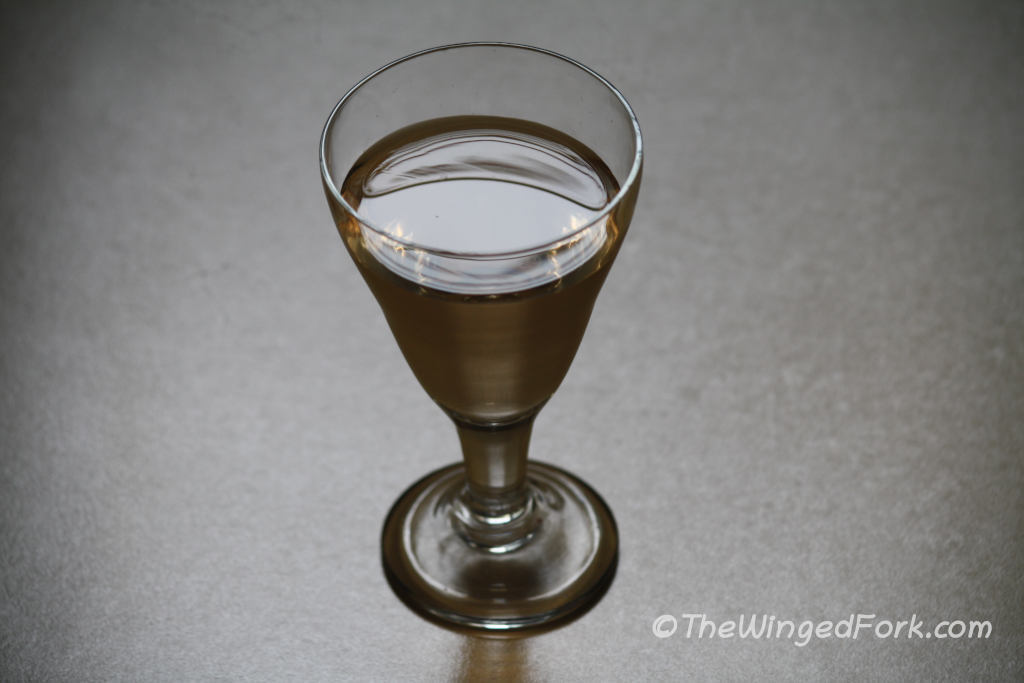
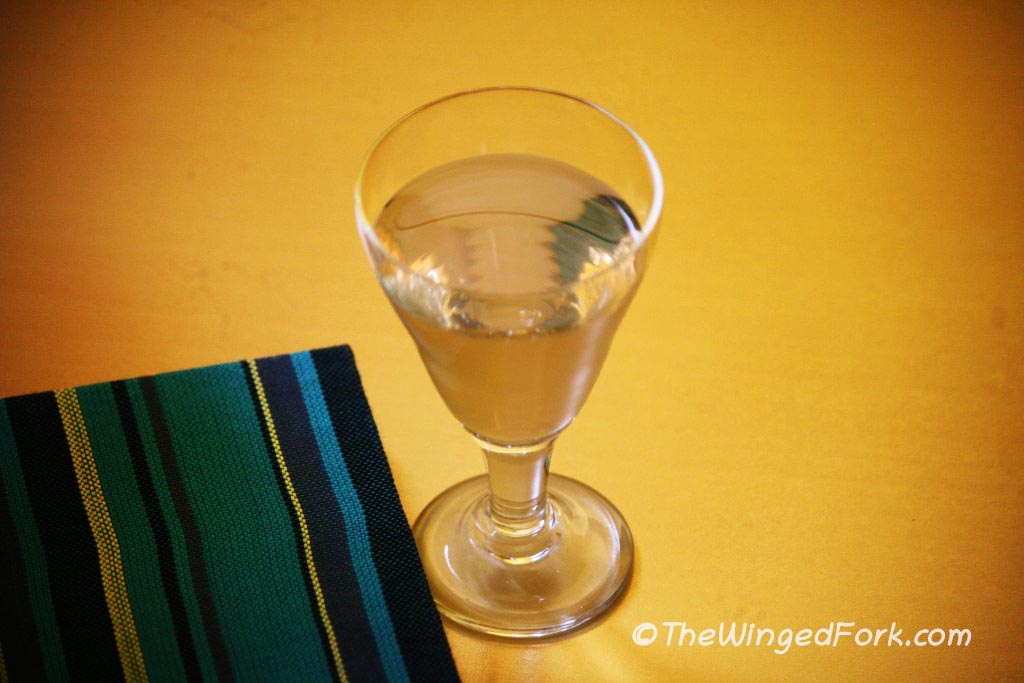
The pics below are of the ginger wine we made using raisins that was racked for a few weeks using a quarter teaspoon of baking soda. The clarity is amazing. Doesn’t my sister‘s black and white picture below it look amazing?
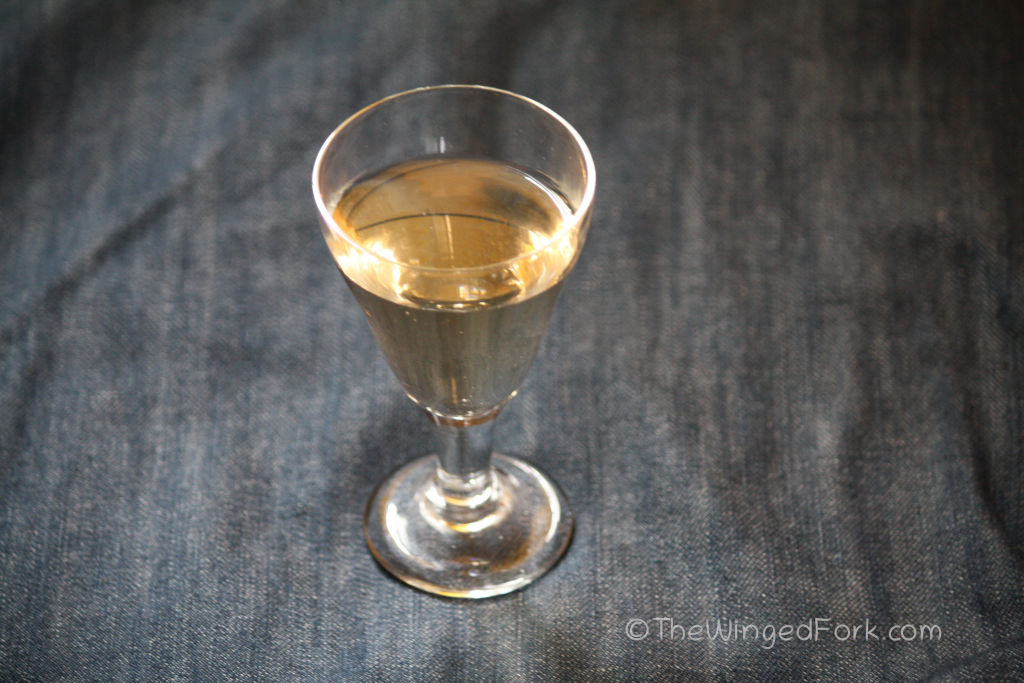
Spicy Homemade Ginger Wine
Click the stars to add your rating! Left you don’t like it, right you love it!
Ingredients
- 500 g Sultanas or Raisins (See notes.)
- 500 g Ginger Bruised
- 1.5 Kilogram Sugar
- 15 g Active Dry Yeast 15 g of any regular active dried baking yeast. Or 1 sachet (7 g) wine yeast. See notes.
- 2 Tablespoon Lemon Juice
- 4.5 l Water
Optional Flavors
- 1 Lemon Skin or
- 2 Orange Skins or
- 2 Dried Red Chillies
Instructions
Prepare Your Equipment
- Sterilize your jars, buckets or demijohns and spoons by washing with boiling water.
Prepare the Ginger
- Wash and clean the ginger as needed.
- Bruise the ginger with a pestle and set aside.
Proof The Yeast
- Warm about 100 ml of water and stir in 2 teaspoons of sugar. (Deduct this amount of sugar out of your main sugar.)
- Add in the yeast and leave it aside for 10 minutes.
- After 10 minutes, the yeast will be bubbling wildly and is ready to add to your wine bucket or ceramic jar.
- ((This step of proofing the yeast is not necessary. If you're certain the yeast is active, you can just throw the yeast into the must after adding all the ingredients for the wine must.))
Prepare The Wine Must
- While the yeast is proofing, prepare the rest of the ingredients.
- In a ceramic jar or demijohn, take the sugar, bruised ginger, lemon juice, and sultanas (or raisins). (Both raisins and sultanas do the same work of feeding nutrients to the wine, si it doesn't matter which you use.)
- Add the remaining 4.4 litres of water into this ceramic jar or or wine bucket and stir all the ingredients together.
- Depending on the flavor you want, you can now also add in the lemon skin or orange skin or dried chillies. If you do not add any of these optional ingredients, it's fine too. The wine will have a spicy ginger taste.
- Once the yeast has finished proofing, add it to this mixture and stir again.
- Cover with a lid and leave overnight.
- For the next 6 days, stir daily every morning.
- On the 7th day, test a bit of the wine and check if you need to add a bit more sugar to make it stronger.
- Leave the wine aside for another 7 days.
Strain and Rack the Wine
- On the 14th or 15th day, use a sieve or muslin cloth to strain the wine into a stainless steel pot or another demijohn.
- Bottle the strained wine and leave aside for a few weeks or months before shifting to new bottles again.
- Optional Step: Take out a bowlful of wine and mix with half a teaspoon of baking soda. Once mixed add a few tablespoons of the wine to each bottle and let is rest for a few weeks. This will both clarify the wine and reduce acidity.
- You can see the pics showing the different stages of clarity of the ginger wine in the post. Of course, if you don't want to wait for the wine to clarify, you can easily drink and serve the ginger wine once you've bottled it. It's up to you. Cheers!
Please click to rate the recipe! Left you don’t like it, right you love it!
Video
Notes
- You can use either sultanas or raisins or a mixture of both in any amount since both do the same job.
- If using wine yeast, 1 sachet (7 g) of wine yeast should be enough. Follow the instructions on the packet.
- Try to use lemons and not sour limes as they’re zestier and less acidic than sour limes.
Stuff You Might Want to Use
Nutrition (Per Serving)
Disclaimer: Nutrition Information per serving is estimated by a third party software based on the ingredients used, and is for informational purposes only. It will vary from product to product, based on methods of preparation, origin and freshness of ingredients. Please consult the package labels of the ingredients you use, or chat with your dietician for specific details.
This printable recipe card is for home use only. For more recipes head over to AbbysPlate.comTips and Tricks to Make Ginger Wine
- Use sultanas if you want a reddish wine, use raisins if you want a clear wine.
- You can use Indian yeast brands such as Blue Bird or Crown, but I prefer using stronger yeast such as the French Saf Levure or DCL Yeast.
- If using wine yeast, 1 sachet (7 g) of wine yeast should be enough. Just follow the instructions on the packet.
- Add lemon skins or orange skins for a light fruity flavor. If you want wine with a spicy kick, use dried kashmiri chillies.
- Rerack the wine after 2 weeks or a month to remove the dregs. That means, change bottles and get rid of that stuff that settles at the bottom.
- The longer you leave the wine to rest after making it, the better it tastes.
- In case you want to give it a go, our reader Lynn tried the recipe using organic ginger juice and says it turned out pretty good too! (Just make sure there are no additives in the juice.)
Things You Can Do With Ginger Wine In Summer
- You can use this wine to make ginger wine soda with a number of additions.
- Or you can make a ginger lemon spritzer or a ginger wine lime and mint spritzer.
Bonus Tip: I’ve had quite a few questions about making the wine last minute and making it faster for Christmas and other family dinners. If you’re in a hurry and wish the wine was ready quicker for a celebration or dinner or even for Christmas, here’s what you can do. Follow all the steps till day 7. On day 7, kill all the yeast and stop the fermentation process. Do this by adding a tsp of baking soda to the entire batch and leaving it alone. The next morning, bottle the wine and it’s ready to serve. It won’t reach the 8% to 15% that we usually do, but it will reach a decent 4% to 8% and everyone will still love it!
Questions about making your own Ginger Wine
Can We Use Any Other Fruits Instead Of Ginger?
Yes, you can use any other fruits, but you’ll need to double the amount. So for 500 grams of ginger, use 1 kg of pineapple or strawberries or any other fruit.
Can We Skip The Raisins And Sultanas?
Yes, you can skip the raisins and sultanas, but the alcohol content of the wine might be a few % weaker than this one.
If you want our traditional East Indian recipes on hand, the Abby's Plate Cookbook Series books are available online or in-store in most countries.
Latest Book:
East Indian Celebration
Festive Recipes from Abby's Plate
See the full list of books here!
Other Recipes You Might Like
- Vindaloo Recipe, the best pork!
- Marzipan chocolate Easter eggs
- Love apple pickle
- Mustard Paste Recipe
- Tripe Curry Recipe

I’m an East Indian foodie and travel blogger from Bombay, India. I love food, wine, and sharing my culture’s ethnic East Indian and traditional Indian recipes. You’ll find more info about me here!



Hiya Abby!
Making this for the second year at Christmas.
Fabulous recipe, thank you for posting it. Mwaaa!
A question: On the 7th day, you mention adding more sugar to make it stronger. How much more sugar do you add?? Last year I didn’t do this step and the wine was about 9%. I would like to boost it to about 13%. I use normal active dried yeast (20gms), not wine yeast.
Thank you in advance for your assistance. Alan.
Hi Alan,
Here in India, I’ve grown up with this thing called ‘andaz’. It’s how my mom and granny cook or make wine – by approximating ingredients most of the time.
That being said, I usually add around 100 to 150 grams of sugar on average. Sometimes, I just add a few tablespoons at a time over a period of 3 to 4 days (so 7th to 10th day), and decide to put more or less depending on how the yeast fizz. (If they don’t fizz when you add the sugar, it means they can’t take any more.) I’ve experimented a bit, and while upto 150 grams more makes the wine stronger, 200 or 250 grams more sugar made it syrupy. But really, it also varies with the variety of ginger, raisins, etc.
Sticking to near about 100 grams is safe. If you try more, let me know how it goes. 🙂
Hi, Abby!
Starting this process soon – once the wine is ready to be bottled, we store them at room temperature and there is no reason to burp the bottles? They’re just good to sit? I haven’t made wine but do dabble in kombucha and I do not think I’m grasping this bottling process please ease my mind!
Hey Louise,
Since we’re doing it old-school without measurements, depending on your mix of ingredients, you may or may not generate an excess of carbon dioxide in the wine. Burping releases the carbon dioxide. A lot of home brewers use burping because they’re afraid of the bottles exploding. The thing is – it’s not the carbon dioxide that causes the bottles to explode, it’s using low quality bottles. If you’re using good bottles, no matter how fizzy the wine gets, it won’t explode. That being said, burping is fine if you prefer more of a flatter table wine. Either way works. Just do whatever you’re comfortable with.
Hope that helps,
Abby
Hi there. Have just finished a batch of this ginger wine with a few tweaks – basically combined your recipe with another! but liked yours as very simple. I read a couple of the comments with questions around using the spent fruit/spice/ginger pulp and your concerns and advice not to cook with it. It should be perfectly fine for cooking as it is simply fermented and will have a number of beneficial qualities. It can be added to soda and left to infuse or in boiling water as a fruity spicy tea. Kept in fridge or dehydrated or frozen for long term is the way to go. Cooked in cakes or muffins is perfect and I’ve done this before – without any mishap. There is little risk of anything harmful occurring except over indulgence as it’s yummy and a terrible waste to throw out.
Hi Dal,
Interesting to learn. My dad used to tell us to use it but we were worried about the lees still being mixed in in such large quantities. So do you refrigerate the fruit right away? Or how do you do it?
Abby
I followed your recipe for Ginger wine using the optional flavors of lemon skin and red chillies, and I am now in the first week of the procedure. It tastes delicious! I may add a bit more sugar on day 7 or day 8 as the ginger was extra pungent to begin with. Are there any substitutes for sultanas or raisins in this recipe, such as fresh green/red grapes or whole wheat grains? If there are any substitutes for raisins/sultanas, what amount would I need to add to the above recipe? Thanks a lot!
Hi Rusha,
It should be possible to substitute fresh grapes like we do for the green grape wines, but I haven’t tried mixing ginger with fresh grapes yet. So I’m not really sure about quantities. I’ll put it on my to-do list, but it’s really quite long, so I’m not sure if I’ll get around to it this year. 😉 If you do try mixing fresh grapes with ginger, please come back and tell me how it turned out.
Abby
Hi I’m just making this now! I’m on day 7 and about to leave it alone, maybe just for another few days before killing the yeast, waiting overnight and straining it the next day. My plan is to strain into a bowl as I don’t have another large jar, then bottle it and gift for Christmas about a week after I bottle it. Does that sound ok? Have I missed any crucial steps?
Thank you! This is very exciting! It tastes great already.
Sounds like you’ve done everything right. The only thing missing might be the bear hug that goes with the gift. Wink. 😉 Enjoy!
Hi, am excited about trying this recipe in time for Christmas. Am new to winemaking and like sweet wines. Is this wine sweet or should I add a bit more?
Hi Nimrat, there’s a hint of sweetness but the wine isn’t what one would call sweet. You could about half a kg more sugar to sweeten it. Or keep tasting a bit after the 7th day and add a few tablespoons each day till you reach your desired sweetness.
Hi Abby,
The ginger wine tastes so good. Loved your detailed instructions and tips.
Can I make pear wine in the same way?
Hi Jaya,
Yes, you can use almost the same recipe. But the quantity of fruit needs to be doubled. So instead of 500 gms ginger, use 1 kg pears, or instead of 1 kg ginger use 2 kg pears, etc.
Hi,
Thanks for posting this recipe – I’m so excited to try it!
I’m completely new to wine making, and wondered if it matters whether I get a fermentation bucket that’s significantly bigger than the amount of wine I’m making? Also – is there need for an airlock with this recipe? I also wondered if between stirs the lid is replaced tightly – I saw a reference to having it on loosely towards the end of the process in an earlier reply. Any help you can give would be fab, thanks!
Lucy
Hi Lucy,
This recipe uses the more traditional method of winemaking with stirring and stuff like our ancestors did, so there’s no need for an airlock. We leave the lid on loosely to perform the same function – let out the gases and without letting in air. So yes, leave it on loose. And no, the size of the bucket won’t make a difference. Get one as large as you like!
HTH,
Abby
Hi Abby,
Thank you so much for your speedy reply, this is really helpful!! Can’t wait to get going with it!
Lucy
Just made my second batch. I`ll keep going as I grow ginger for sale plus I eat a lot of ginger. I`d like to find out how to glace ginger like the shop bought.
Thanks Patrick. And awesome that you grow ginger!
Dad hasn’t made glaced ginger in a long time, so I don’t have a recipe for you right now. But it’s basically the same method we use to make glaced cherries. Just slow cook them in a thick sugar syrup.
Hi Abby,
Do I need to simmer the ginger roots / raisins before fermentation. Thanks for your reply.
Hi David,
No, just crush the fresh ginger and use them as is. This gives the wine its zing! If you want it to have less of a kick, then you can simmer the ginger before addition, but the raisins must go in as-is. Do let us know how it turns out!!
Abby
Thanks for the info.
Good Luck!
I started using this recipe a month ago. so easy and it tastes great. Can I use ginger juice? I have some from the Ginger People.
Hi Lynn,
Glad you liked our recipe. I’ve never tried using ginger juice, but it should work on the same premise as with using grape juice for normal wine. But you’d have to check that the ginger juice does not contain any additives or regulators.If it’s absolutely pure and organic, give it a shot. And let me know how it goes!
Using ginger juice was awesome. I has a strong ginger flavor because I use the same amount of juice as the fruit. It has a nice kick to it.
That’s great! I’ll have to try it myself one of these days. Will save so much time from bruising the ginger. 🙂
Dear Abby,
i am going to try your recipe, however, can you confirm if it must be organic lemon that I use.
Hi Elizabeth,
Organic lemons, homegrown lemons, or local farmer’s market lemons are preferred. But if you can’t find those, store-bought will work too. Just give them a good rinse, but not too much. 😉
Abby
Hi Abby,
I make ginger bugs usually – adding lemons and ginger and water to a wide mouthed jar and then leaving it to catch organic cultures and feeding it sugar until it starts to fizz. 2 years ago I had a ginger bug that i let get to the fermented bubbling process and then I burped it and left it ………for 2years :). I just opened it today to have a taste and it taste and smells fine ….maybe just a bit tarty. Im now planning to strain the lemons and ginger out and bottle it up and leave it for another week or more. Does this sound like it’s safe process and how do I know what alcohol content it might have? Many Thanks, Avril
Hi Avril,
I’ve only stored wine for years, but bugs with the decomposing mass of fruit I’ve never kept for more than a month. Our ancestors have been fermenting food and drink for longer, so by their standards, it might have been fine. But I’m not in a position to comment on the safety of the process. I’m really sorry I can’t help you with this.
Abby
(But if you do use it, I’d love to know how it goes.)
Great post Abby! So glad to find you. My late EI Mom, may she RIP left me a recipe, but your tips & tricks are great. I loaded up a batch last night but I had a question about the fruit, do you throw the raisins away? Or are they good to reuse in another recipe? Thanks in advance.
Hey Karen,
Happy to connect! It’s best not to use the leftover fruit for other recipes. Although it smells like Christmas cake, it is in fact dead fruit. You should discard it. Or you can do what I do and reuse it to make a weaker wine that you can use as a spritzer or cool summer drink. Scroll up just a bit and you’ll find the measurements in my answer to Debs. (21 Feb 2021)
Thanks! You’re instructions were very clear and my ginger wine looks exactly like yours
Awesome Annie! Cheers!
Hi Abby
I made the ginger wine ten days ago.. and was out of town.. when I got back I realized I hadn’t added yeast to the mix! Will it still ferment naturally? Or should I add yeast now?
Hi Neya,
It’s a bit too late to add the yeast in. But it should ferment naturally and give you around 2% to 3% strength. You can always add yeast in the next batch. 😉
Hi Abby,
Is there a way for me to add some bubbles once I’ve bottled it? I’m on day 10 of the fermentation process
Hi Chua,
I’ve found that the quarter teaspoon of baking soda that we add for clarity, also adds a bit of bubbles if left alone for a few months. But I haven’t experimented with adding bubbles per se, so I can’t really help with that.
Abby
Hi, I made this following your recipe and it was absolutely wonderful. Decided to make some more and I’ve bought 1.5 kg of ginger. I will just increase the recipe quantities but not sure what I should do about the yeast? I’m planning on using white wine yeast which states “1 teaspoon for 4.5 to 22.5 L of wine” – Should I just go with 1tsp or increase it? Many thanks
Hey Helen,
Wine yeast is a starter colony, so the packet should tell you how much of it you need. If it says 1 tsp for 4.5 litre, use the entire 1 tsp since that’s the basic amount of the starter that you’ll need for the yeast to breed. If you were using it for 9 litre, it would still be 1 tsp as the yeast wuld breed n times more. It won’t affect the alcohol content in any way. So basically, stick with the instructions on the packet. You can always do a test one week in and check if you need to add a bit more yeast.
Thanks!
Excellent. Thank you so much
Hi Abby, just making your marvellous recipe for the second time. I made a mash 5 days ago and put in the lemon juice but didn’t put in a lemon skin as I didn’t have an organic lemon. I’m just about to put the organic lemon I’ve since bought, will it harm the brew if I squeeze the extra lemon juice in as well?
Also the brew smells wonderful vinous and tastes great so far but no big bubbles; it’s a bit chilly in Wales at the moment so do you think that’s why?
Hi Fanny,
Please don’t add the extra lemon juice in – it will turn acidic. Only add the skin.
The absence of bubbles – was the yeast good? Did it proof okay? It could also be for either of two reasons – either the yeast have finished all the sugar or the yeast isn’t enough. First, add a spoonful of sugar to the wine. If it fizzes for a bit immediately, it means you need to add more sugar to feed to yeast. If it doesn’t, it’s probably the yeast. Add half a teaspoon of yeast, and hopefully by the next morning, it should be fizzing again.
But also, the temp bit. Colder temperatures can sometimes make the yeast go dormant. Can you move the wine bucket somewhere close to the refrigerator, so that it gets the heat coming off the compressor? Or can you use on of those old lightbulbs that heat up a room and place it next to the wine? Or can you wrap the bucket with a heating blanket set on low? Or do something else innovative that will help ferment. (Just don’t put it in the sun.)
Let me know how things go.
Abby
Thanks, I will try these suggestions
Hi Abby,
Thank you for your recipe, Can I use raw honey instead of white sugar!!
You should be able to use honey to make ginger wine, but the taste and the flavor will change based on the honey you use. I haven’t experimented with honey yet, so I can’t help you with measurements.
Hi, can I use just a white wine yeast. Thanks
Sure you can!